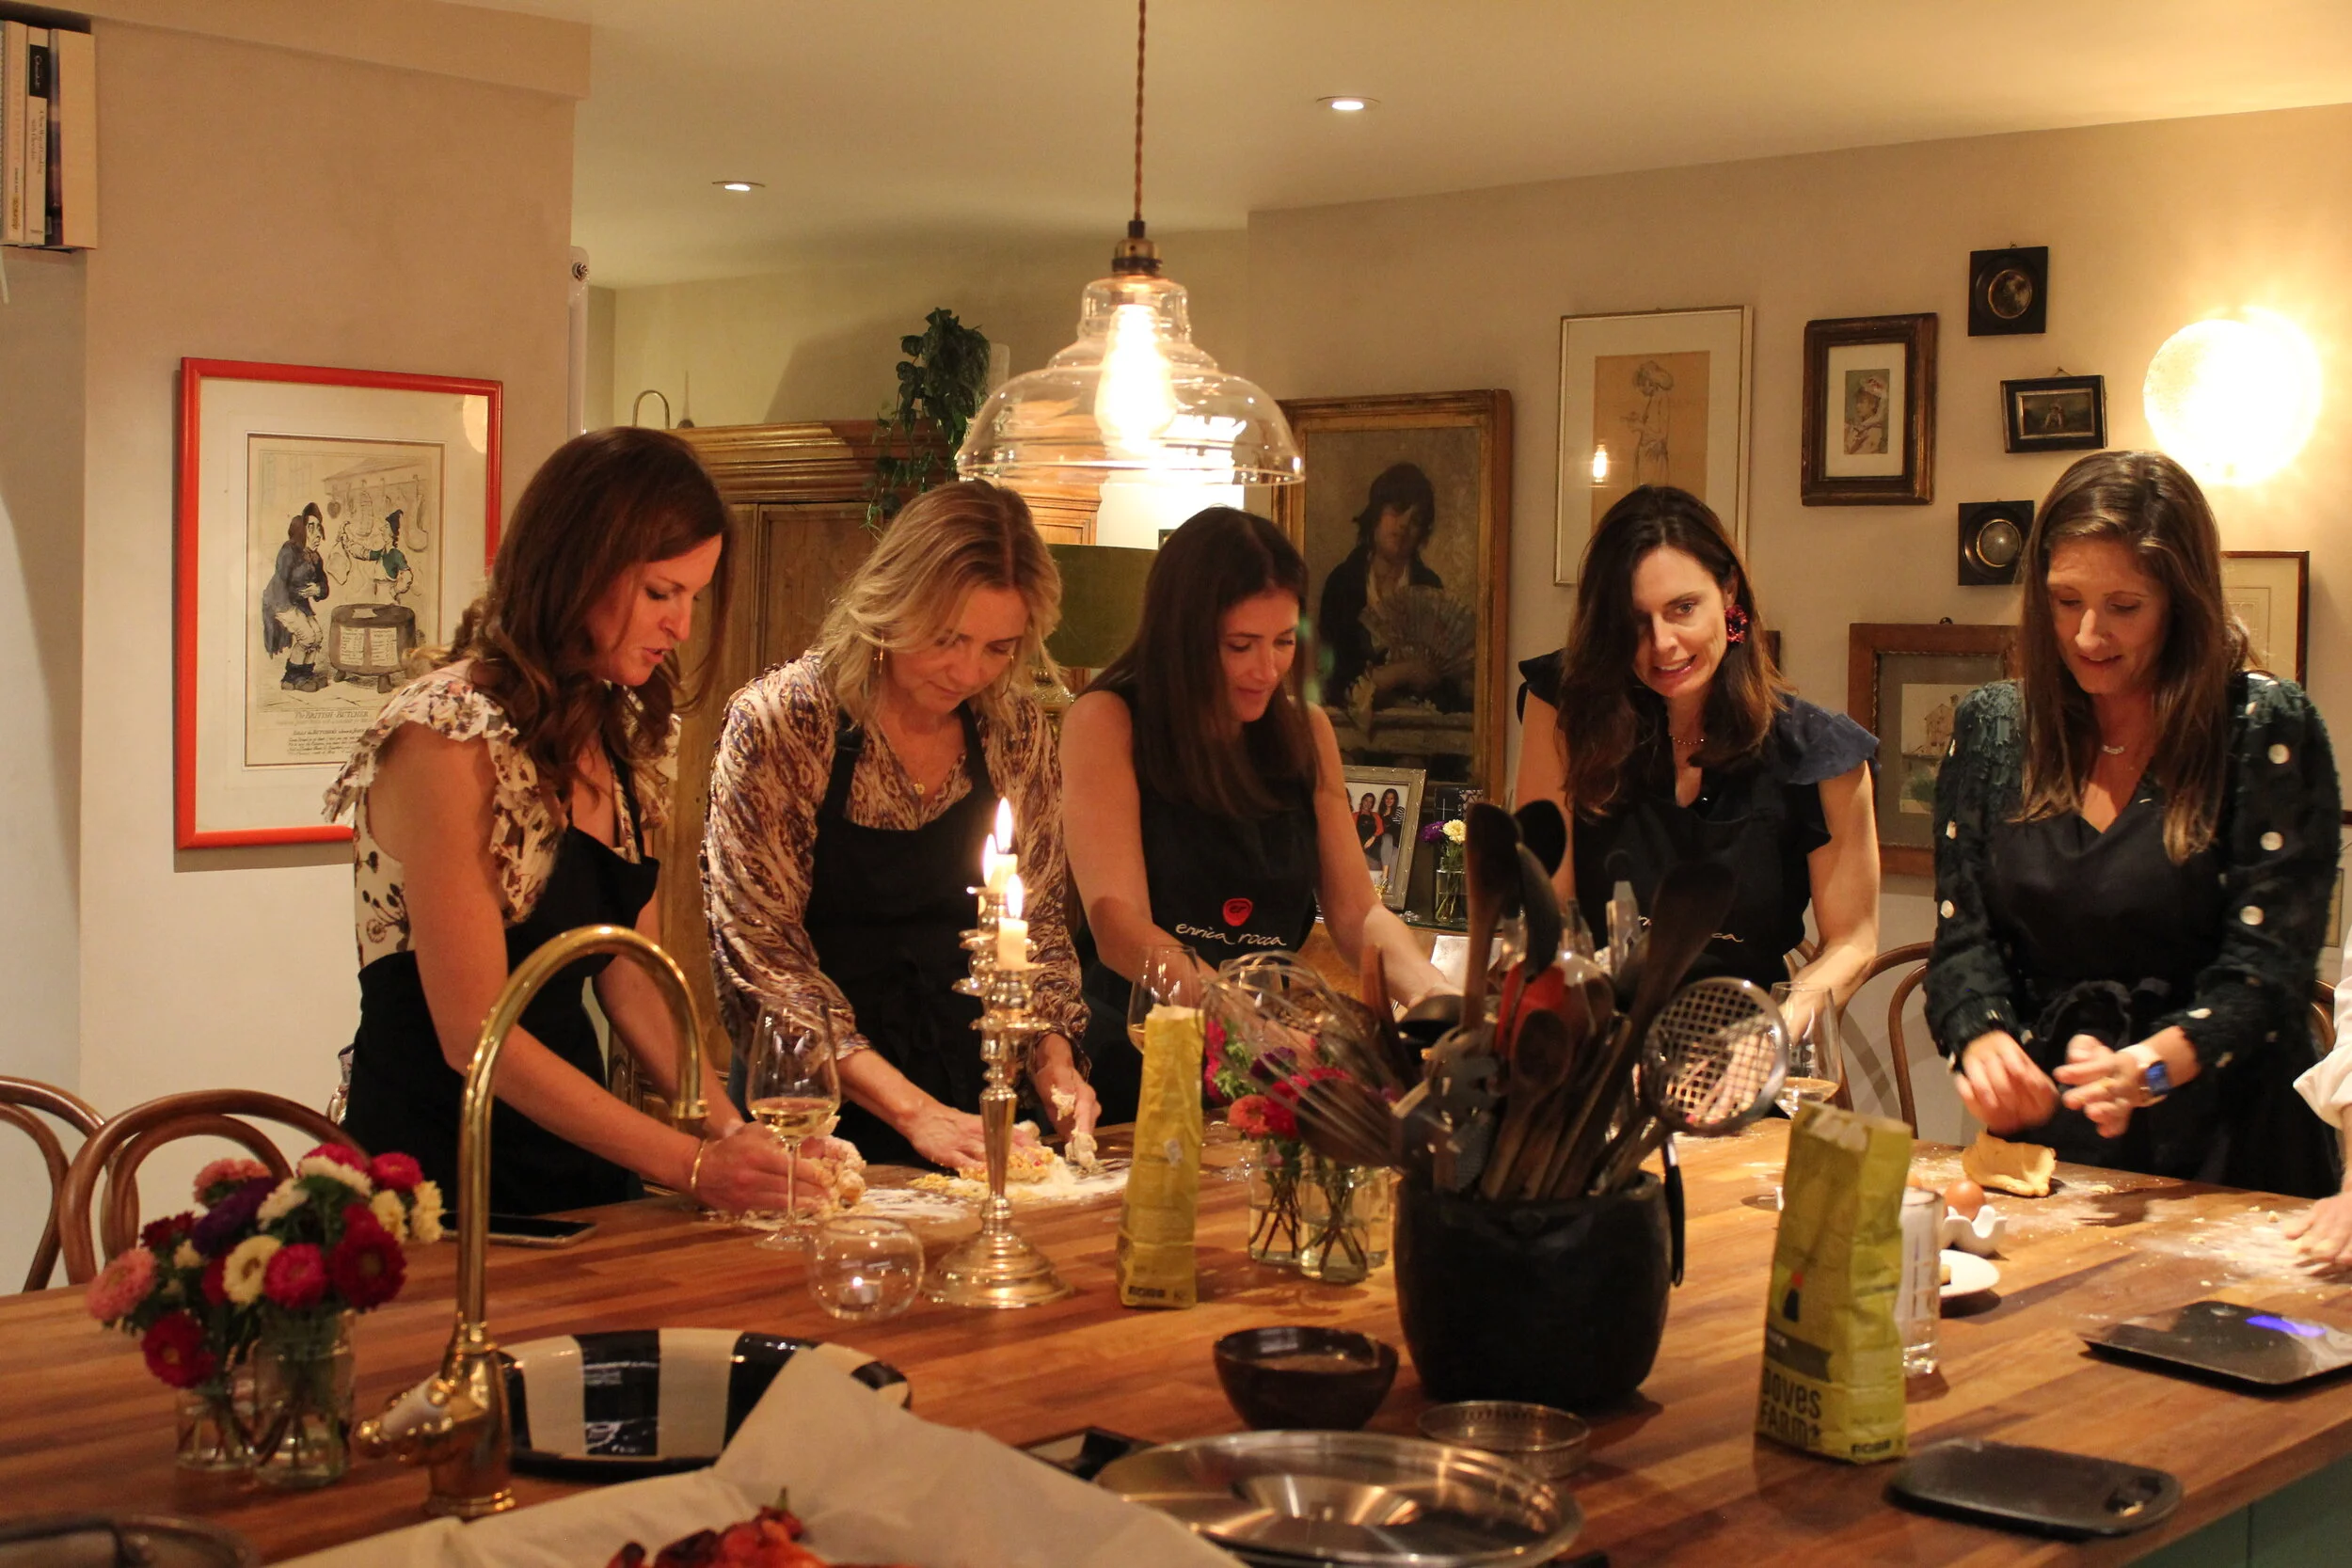
italian feast cooking class recipes
RECIPES
-
Widely grown across northern Italy, it is the dedication to flavour that sets his Delica pumpkins apart. Grown entirely outdoors, the Zerbinati family water their pumpkins just enough, stressing the plant to build a concentration of flavour in the flesh. The pumpkins are then cured for thirty days, which allows the natural sugars to develop while drastically reducing the water content for denser, highly flavoured flesh.
A great tip for cooking this pumpkin is to heat the entire pumpkin in the oven at 200 degrees for about 10/ 15 minutes which will soften it slightly and make it a lot easier to peel and slice before then cooking in the oven.
-
Ingredients (serves 12 as an antipasti)
1 Delica Pumpkin
1 head of Radicchio (or rocket if you prefer)
3 balls of burrata, drain for at least 1 hour before serving
Handful of Toasted hazelnuts, lightly crushed (optional)
Ingredients for the Gremolata:
40gr basil
20gr parsley
40gr capers
1 garlic clove
½ lemon juice
Olive Oil, Salt and Pepper
-
Method
Heat your oven to 220 degrees.
Bake your whole pumpkin in the hot oven for about 15 minutes. This will soften it making it easier to peel and cut into wedges.
Remove from the oven and cut into about 12 wedges (some prefer to first peel the pumpkin but personally we love the skin). Place onto an oven tray drizzled with olive oil in one single layer, then drizzle with more olive oil and salt and add about half a cup of water which will help stop your pumpkin from drying out.
Roast for 30-45 minutes until the pumpkin is cooked through and turns a caramelized golden colour.
For the Gremolata, finely chop all of your ingredients and mix in a bowl. Add enough Olive Oil so that it loosens. Season with salt and pepper.
Cut the bottom/root off of the radicchio and leave the leaves whole.
To plate your salad, lay the radicchio on a platter and drizzle with some olive oil and balsamic vinegar. Then lay the pumpkin on top with your burrata (open your burrata up with a knife) and finally the gremolata and some toasted hazelnuts if you like!
-
-
Our meatball recipe has been in the family for years and we think it’s good, really good - only share it with people who you really like. Traditionally they’d be served as a small antipasti portion however if you decide you eat them with a huge portion of spaghetti, well, who are we to judge?
The secret to making our meatballs so delicious is using a LOT of ricotta. We add half the amount of minced beef as ricotta and this ensures that they feel really moist and delicious and means you do not need to add any bread crumbs. The other great key thing about this recipe is that they are fully baked in the oven so it really is a very easy recipe.
Family secrets:
You can do a mix of Pork and Beef for a truly traditional Italian Recipe
It is very important to flour your meatballs as this will help thicken the tomato sauce whilst they are cooking. Another important tip is to really make sure you are adding plenty of Tomato Passata and Red Wine because the meatballs will absorb a lot of it whilst cooking and you want to make sure your meatballs are nice and saucy. you wont need to cut them in half.
Should you wish to make this in advance for a dinner party then follow all steps leaving the chicken to cool in the dish. Pop into a hot oven for 10 minutes to warm through before serving.
-
Ingredients for 6 people:
For the meatballs:
500gr of Minced Beef (10-15% fat recommended)
60gr finely chopped parsley
Half of a large white or red onion finely chopped
2 large cloves of garlic finely chopped
1 egg
250gr of Ricotta
5 tbsp parmesan
Flour for dusting
Salt and pepper
For the tomato sauce:
700gr of Tomato Passata (Mutti is the best Brand)
1 Sprig of Rosemary Finely Chopped
½ cup of cooking red wine
-
Method
Heat your oven to 220 degrees.
Finely dice the parsley, onion and garlic combining them in a large bowl with the minced beef, ricotta, egg, parmesan, salt and pepper.
Mix with your hands, making sure to squeeze well so everything gets nice and combined and season with salt and pepper - The mix will feel very sticky but dont worry, just make sure its all mixed well together.
Roll the mixture into even sized 12 balls, approximately the size of a golf ball.
Dust the meatballs in the flour so they are entirely coated and place them in an oven safe dish so they are touching. We would recommend an oven dish of approx 20cm x 16cm.
Top with the passata, wine and chopped rosemary so that the meatballs are mostly covered in the sauce.
Bake at 220 degrees C for 25/30 minutes until cooked through and nicely browned.
-
-
Tiramisu translates to ‘pull me up’ in Italian and was created in the countryside when families would be sleepy after long family lunches and so the coffee would revive everyone. Traditionally no alcohol is added to the recipe, however, if you did want to add alcohol then usually Marsala wine is added to the biscuits with the coffee.
Family Secrets
Folding rather than stirring the egg whites into the mascarpone mix will help keep the air in the mixture, resulting in a luxuriously light topping.
Amaretti biscuits can supplement the finger biscuits for a gluten free option.
-
Ingredients (for 6 people):
400g mascarpone
4 tbsp sugar
4 eggs
150g finger biscuits (enough to cover bottom of the dish)
About 300ml strong coffee
-
Method:
Lay the finger biscuits into a ceramic or tin dish of about 24cm x 21cm so that they cover the bottom completely without overlapping (breaking them to fit is absolutely fine)
Pour a tablespoon of coffee onto each biscuit, one at a time - Make sure your biscuits are mostly soft from the coffee but still a little crunchy in the middle. Make sure there is no excess coffee floating at the bottom of the dish.
Crack each egg separating the yolks into a large bowl with the mascarpone and the whites into another mixing bow (or kitchen aid bowl if you have one)l.
Whisk the egg whites (we’d advise using an electric whisk). Once the egg white has turned white and fluffy then add the sugar tablespoon by tablespoon whilst still whisking until your egg whites are super stiff and have a glossy texture which will happen after about 5minutes of whisking with the sugar.
Mix the mascarpone and egg yolks together until smooth using a whisk. We would recommend not using an electric whisk for this part as it can make your mascarpone too liquid, better to whisk by hand.
Gently fold the egg whites a third at a time into the mascarpone mixture using a spatula until the egg whites are all incorporated into the mix and there are no lumps of egg white. You should have a nice fluffy mousse texture.
Spread the mixture on top of the coffee soaked biscuits and place in the fridge to set until you are ready to eat (we’d advise 2 hours minimum).
Once set, dust the tiramisu with dark cocoa powder using a sieve and serve in generous portions.
-
-
Family Secrets:
Scoring the skin of the fish will stop it from curling up when in the hot pan - this will help achieve the crispy skin that we’re looking for.
If preparing for a dinner party the fish can be fried skin side down first and then transferred to a baking paper lined tray skin side up and popped in a hot oven for 5 minutes once guests arrive to finish cooking and reheat.
-
Ingredients for 12 people:
6 sea bass filets
120 gr of Parsley finely chopped
5 large garlic cloves finely chopped
1200g of cherry tomatoes, halved
200gr black olives (we love Taggiasca but kalamata work well too)
100gr of capers
500ml of Cooking dry white wine
Olive oil
Salt and pepper
-
Method:
Heat your oven to 180 degrees
Halve your cherry tomatoes and place them seed side up on a baking paper lined tray. Pour a generous drizzle of olive oil and sprinkle with salt. Put these in the oven for about 1 hour - if you are short of time you can turn the oven up but we are looking to slow roast the tomatoes so the edges begin to char and they appear almost sundried.
Prepare your filets by running your finger along each one, removing any bones as you go if needed. Then bake your sea bass filets skin side up spread out onto an oven tray with a drizzle of olive oil, salt and pepper, a generous splash of white wine and cook for about 15 minutes at 180 degrees until cooked through.
Whilst your tomatoes and sea bass is cooking, fry your garlic, ⅔ of parsley, capers, olives and a sprinkle of chili in a pan with a very generous amount olive oil (enough to coat the bottom of your pan) and cook on a medium heat for about 5-7 minutes making sure to stir occasionally so that the garlic does not burn. Once everything smells delicious and fragrant add your white wine and turn down the heat to low and simmer for a further 15 minutes making sure the heat is low enough so that we do not evaporate all of the wine. Season your sauce with salt and pepper.
Once your fish is ready and you are about to cook your pasta, shred the fish into your sauce without the skin and add your roasted tomatoes. Taste for seasoning and then cook your pasta until very al dente and finish your pasta in the pan with the sauce on medium heat with some pasta water until it is cooked and add the remaining chopped parsley.
Fresh Pasta - Tagliatelle
Ingredients (yields 1 large portion)
100gr 00 flour
1 medium sized egg (about 55gr)
Pinch of salt
Method: Making the dough:
Pour the flour into a pile on a clean work surface. Using the egg (in its shell) push the flour from the center in a circular motion to create a well (the outer walls of the flour stop the egg pouring out when it is cracked). If making more than one portion pour all flour into one pile rather than separate piles.
Crack your egg(s) into the well of flour and scramble it using one hand.
Begin to combine the flour into the egg using a pinching motion. At this point using both hands will speed the process up (however, if you’d like to keep one free to sip wine, who are we to judge?)
Persevere with combining the ingredients until they come together to form a dough.
Now move to using the palm of your hand to knead the dough for at least 4-5 minutes.
***Note Eggs are different sizes so add a few drops of warm water if the dough feels very dry and a sprinkling of flour if very sticky.
Your dough is ready when it is smooth in appearance with no white flecks and you can successfully perform the ‘spring back test’ - no fear, this is not a Simone Biles gymnastics trick, rather a simple poke of the finger on the dough - if it springs back the gluten is activated and the dough ready to rest - gold medal for you.
Wrap your dough in cling film tightly and rest for 20 minutes at room temperature.
Shaping the Tagiatelle:
Attach your pasta machine to a clean work surface ensuring you have space to the left of the machine for the dough to be rolled out. Dust this space with a little ‘00’ flour. Set your machine to the thickest setting (usually number 6 or 0 depending on the machine you are using)
Unwrap your dough and shape it into an oval the length of the rollers (if it feels sticky dust with a little flour).
Pass the dough through the rollers, turning the handle steadily, starting from the widest roller setting and working through the numbers to the thinner setting (we recommend setting 5-6 for tagliatelle or Tagliolini. Run the dough through the widest setting four times with a fold before every repetition and then from there step by step on each number without folding.
You should have a long sheet of pasta by now - if not, pass it through the penultimate level again.
Using a knife, cut your sheet of pasta into 2 or 3 pieces (ideally each piece should be around the length of a piece of spaghetti).
Move the handle into the tagliatelli cutting function of the machine. Thread each piece through, collecting with your hand as it comes out. It’s really important not to squeeze the pieces together as they will stick. Lay them out on a floured surface or plate - separating them as much as possible.
Salt some boiling water (salty like the sea!) and drop the pasta in - use a spoon to ensure the pieces are not sticking together. Cover with a lid and leave for 2 mins. Test a piece - if you can imagine it tasting delicious covered in sauce then it’s ready (fresh pasta will never really achieve the ‘Al Dente’ texture but over cooking it so it became mushy and soft would be a real shame - especially after successful completion of 14 steps)
-
-
Scamorza is a smoked mozzarella that is hung up to extract its liquid. It works fantastically in this dish as it doesn’t add the excess liquid mozzarella would. The result is a dish that is luxuriously rich and not watery. If you cannot find Scamorza then good quality buffalo Mozzarella is absolutely fine but we would recommend slicing it into thin slices and draining the slices in a colander with a little salt to remove some of the liquid. We like to use smoked scamorza for a little extra flavour. We bake our aubergines in the oven, but traditionally, they are deep fried so remember to be generous with the olive oil when baking them.
Family secrets: Mutti passata is amazing quality - the flesh of the tomatoes with no added stuff. Available in most supermarkets.
-
Ingredients for 6 people:
4 large aubergines (or around 1.7kg)
250gr of grated scamorza cheese (or one ball)
700g of tomato passata
2 garlic cloves peeled and lightly smashed
Extra Virgin Olive Oil
Grated Parmesan Cheese to sprinkle on top
A large Bunch of basil
-
Method:
Turn your oven to 250°C.
Start by cutting the aubergines into 1cm thick circles. Generously drizzle olive oil onto a baking paper lined oven tray and lay your aubergine rounds on top in a single layer and drizzle more olive oil and salt on top.
Place your tray in the oven for about 30 minutes until the aubergine is cooked through and has a nice golden colour (you do not need to turn them).
Whilst the aubergines are cooking, prepare the tomato sauce: in a pot, add 3 tablespoons of olive oil along with 10 basil leaves and the 2 cloves of garlic. Turn onto a low/medium heat and fry until sizzling but not golden. Add the tomato passata and a sprinkle of salt and let the sauce cook over a low heat for about 20 minutes to slightly reduce the sauce and to infuse it with the basil and garlic.
Whilst the sauce is reducing and aubergine cooking, grate the scamorza cheese on the thicker setting of a cheese grater.
Pick your basil leaves off the stems, ripping larger leaves in half.
It is now time to assemble your parmigiana into the ovenproof dish:
Start with a thin layer of tomato sauce (this stops the aubergine sticking to the dish). You want enough to cover the dish but you still want to be able to see through it.
Top this with a single layer of aubergine (ensuring pieces are touching but not overlapping)
Then add a generous layer of the grated Scamorza.
And lastly a few leaves of basil and a sprinkle of salt.
Repeat until the dish is full, stopping with the last layer being just aubergine and tomato sauce.
Sprinkle the top with parmesan cheese and cook in the oven at 220°C for 25 minutes until the parmesan is melted and a nice golden brown. Allow to rest for ten minutes before serving.
-
DISCOVER MORE OF OUR CLASSES